
For coffee enthusiasts, the perfect espresso shot isn’t just about the grind or tamping. One crucial, often overlooked factor is the brew temperature. When I first used my Breville Barista Express (or Sage in the UK), I quickly discovered the machine’s potential for fine-tuning espresso quality, especially through temperature adjustments. This simple feature truly transformed my espresso experience. Uncover the premium brewing capabilities in our Breville Dual Boiler BES920XL review
I remember adjusting the temperature for the first time to fix a sour shot, and the improvement was immediate. It was clear that brew temperature plays a significant role in the espresso's flavor profile. Explore the intuitive design and features in our Breville Barista Touch Impress review
If you're wondering how to change the brew temperature on your Breville/Sage Barista Express, you’ve come to the right place. This guide will show you how small tweaks in temperature can take your espresso to the next level, whether you're dealing with altitude, roast variations, or simply refining your shots. Compare these two top models in our Breville Barista Express Impress vs Pro review

Why Brew Temperature Matters for Espresso Quality
Before we dive into the steps, let’s explore why the brew temperature is so important. Find the right machine for you in our Breville Barista Pro vs Express review
The right brew temperature is key to extracting the ideal flavor from your coffee. Water that’s too hot can cause over-extraction, leading to bitterness or burnt flavors. On the other hand, water that’s too cool can result in under-extraction, making the coffee taste weak or sour. The optimal brewing temperature for espresso usually falls between 195°F and 205°F (90°C to 96°C), but you may need to adjust based on the type of beans or roast level. Learn the differences between these high-end machines in our Breville Oracle vs Oracle Touch review
For instance, lighter roasts often thrive at slightly higher temperatures, bringing out their bright, fruity notes. Darker roasts, however, are better at lower temperatures, enhancing their rich, chocolatey flavors without tipping into bitterness. Fine-tuning the brew temperature can help you extract the best from any bean.
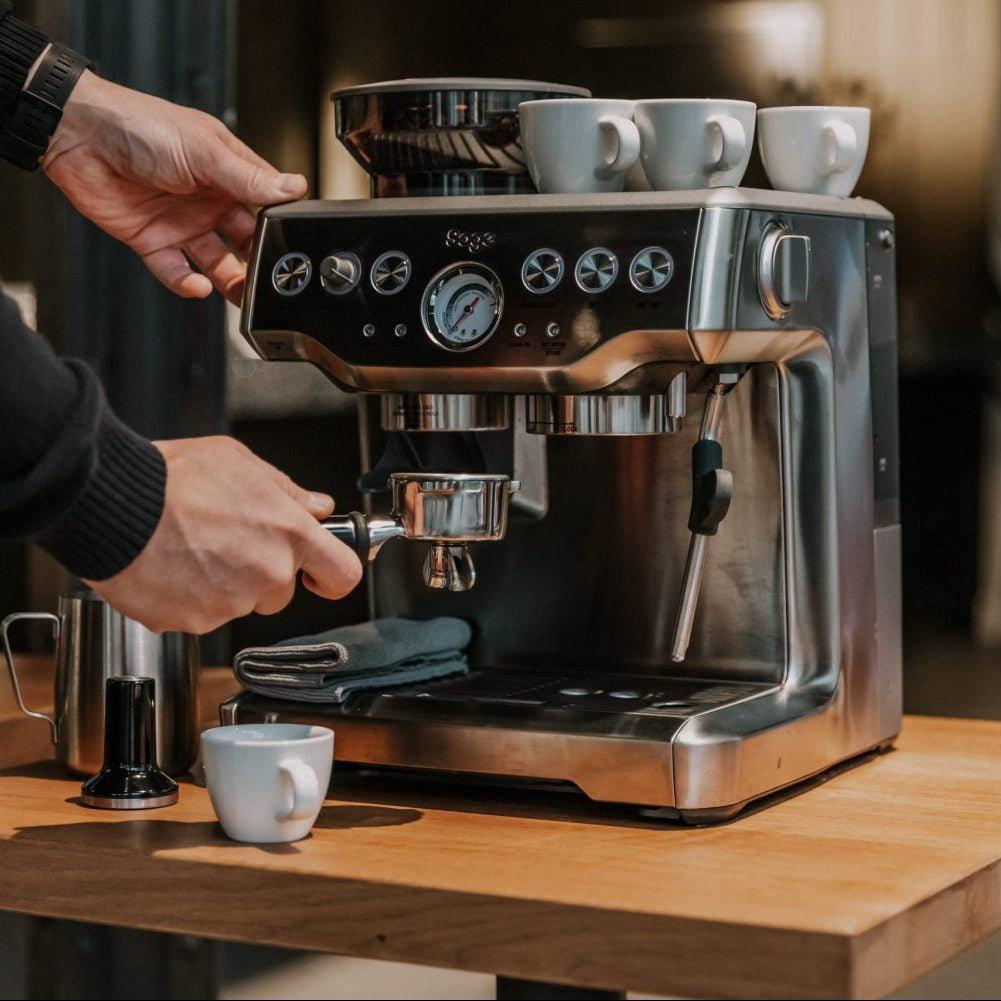
Getting Familiar with the Breville/Sage Barista Express
The Breville/Sage Barista Express is a semi-automatic espresso machine that strikes a balance between user-friendliness and control. Thanks to its PID controller, it stabilizes the brew temperature to ensure consistency throughout the process. But many users don’t realize they can manually adjust the brew temperature for even more customization, making it a great feature for espresso enthusiasts.
Although there isn’t a dedicated temperature dial on the machine, adjusting the brew temperature is straightforward and doesn’t require any extra equipment. This easy-to-use feature allows you to refine your espresso without needing a more expensive model.
How to Adjust the Brew Temperature: A Step-by-Step Process
1. Turn Off the Machine
To start, make sure your Barista Express is powered down to avoid any brewing or heating activity. Press the power button to turn off the machine.
2. Enter Programming Mode
To change the brew temperature, you’ll need to enter programming mode. Hold the ‘Program’ button while pressing the ‘Power’ button to turn the machine back on. Keep holding the ‘Program’ button until the control panel lights start flashing. This indicates that you’re now in programming mode.
3. Choose Your Desired Temperature
Now that you’re in programming mode, you can adjust the temperature using the ‘Single Shot,’ ‘Double Shot,’ and ‘Filter Size’ buttons. Here’s what each button does:
- Single Shot Button: Lowers the temperature by 2°F (1°C).
- Double Shot Button: Raises the temperature by 2°F (1°C).
- Filter Size Button: Resets the temperature to the default 200°F (93°C).
The LED lights above the buttons will help you track your current temperature setting:
- Both ‘1 Cup’ and ‘2 Cup’ lights: Default temperature of 200°F (93°C).
- ‘1 Cup’ light only: Lower temperature (198°F/92°C).
- ‘2 Cup’ light only: Higher temperature (202°F/94°C).
4. Fine-Tune the Temperature
To adjust the brew temperature, simply press the Single or Double Shot button until you reach your desired setting. Each press changes the temperature by 2°F (1°C), allowing you to make gradual adjustments.
For example, I tend to raise the temperature for lighter roasts to bring out their fruity flavors, while lowering it slightly for darker roasts to prevent bitterness.
5. Save Your Settings
Once you’ve dialed in the perfect temperature, press the ‘Program’ button again to save your settings. The machine will briefly shut off and then restart with the new temperature.
6. Test and Adjust
After making your adjustment, pull a shot and taste it. Pay attention to the extraction time and flavor profile. If the taste isn’t quite right, you may need to adjust the grind size, tamping pressure, or make further temperature tweaks. With a bit of practice, you’ll notice a significant improvement in flavor.
Troubleshooting & Tips
Temperature Changes Aren’t Taking Effect
If your adjustments don’t seem to register, double-check that you’re in programming mode (indicated by flashing lights). Without entering this mode, the changes won’t apply.
Not Happy with the Flavor?
If tweaking the temperature doesn’t improve the flavor, don’t forget to consider other variables like grind size and tamping pressure. Temperature changes work best when combined with proper grind and tamp techniques.
Adjusting for Different Beans
If you often switch between different beans, you may need to adjust the temperature for each one. Lighter roasts benefit from higher temperatures, while darker roasts typically do better at lower settings. Keep a small log to track which temperatures work best with each roast type.
Conclusion: Elevate Your Espresso with Temperature Adjustments
Learning how to adjust the brew temperature on your Breville/Sage Barista Express can significantly improve your espresso shots. By making simple changes, you can enhance the flavors and bring out the unique qualities of each coffee roast.
After experimenting with various temperatures, I noticed a big difference in the complexity and balance of my espresso. If you’re still using the default settings, I highly suggest trying these adjustments—you might be surprised at how much better your coffee can taste.
Frequently Asked Questions (FAQ)
Q: What is the ideal brew temperature for espresso?
A: The ideal range is usually between 195°F and 205°F (90°C to 96°C). However, slight adjustments may be necessary depending on your roast and bean type.
Q: Can I adjust the brew temperature without entering programming mode?
A: No, you need to enter programming mode to make changes. Follow the steps outlined in this guide.
Q: Why does my espresso taste bitter or burnt?
A: Bitter or burnt flavors are often caused by over-extraction from high temperature. Try lowering the brew temperature slightly to fix this issue.
Q: How do I know if I need to increase or decrease the temperature?
A: If your espresso tastes sour or under-extracted, try increasing the temperature. If it tastes bitter or burnt, lowering the temperature can help.
Q: Do I need to adjust the temperature every time I change beans?
A: It depends on the roast type. Lighter roasts usually require higher temperatures, while darker roasts do better with lower settings. Adjust to your preference.
Q: How much does each temperature adjustment affect the flavor?
A: Each press of the Single or Double Shot button changes the temperature by 2°F (1°C). Small, incremental changes can significantly affect the flavor, so make adjustments carefully.